
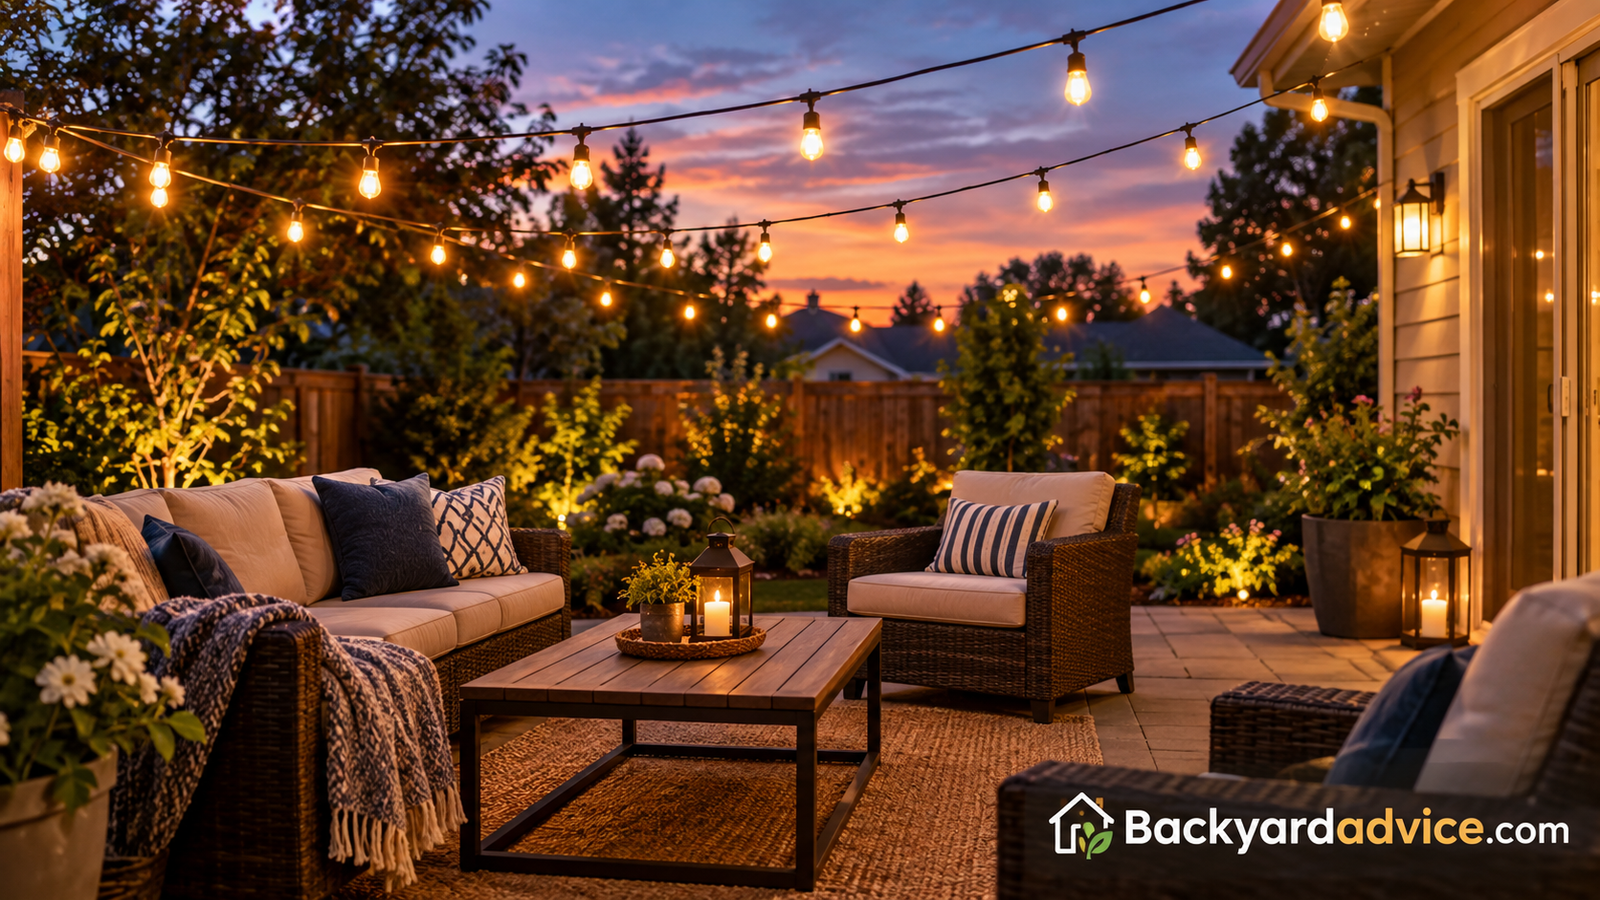
How to String Lights Across Backyard: A Complete, Step-by-Step Guide
From mapping your space to hanging a sag-free line of warm light, here is everything you need to turn an ordinary yard into the spot everyone wants to hang out.
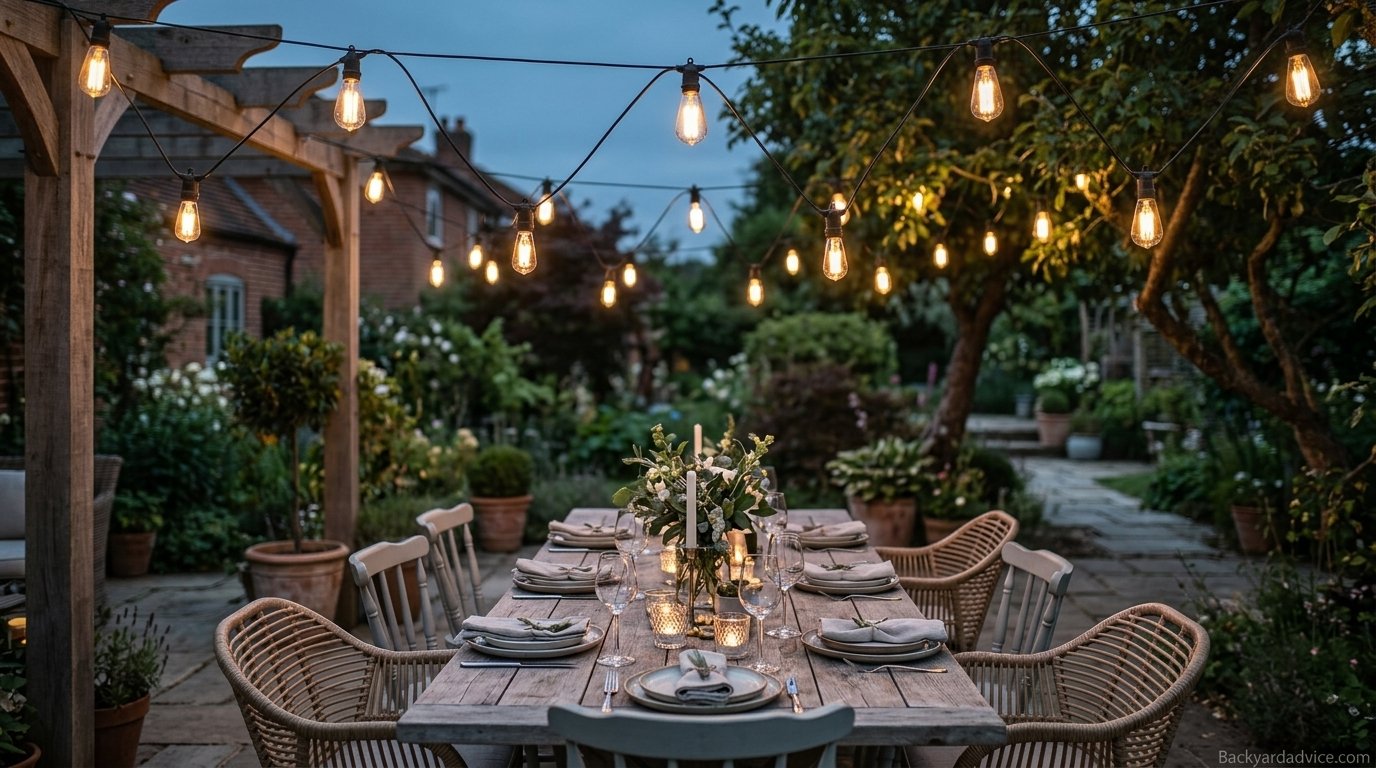
There is a specific kind of evening that almost everyone remembers: the air cools off, someone clicks a switch, and a line of soft light blinks on overhead. Suddenly the patio is not just a patio anymore. It feels like a café, a festival, a little private resort. The surprising part is how little it takes to get there. A few strands of lights, some solid hardware, and a clear plan can transform even a plain rectangle of lawn.
The not-so-surprising part is that plenty of first attempts go wrong. Lights sag in the middle like a tired hammock. A strand turns out to be six feet too short. Hooks pull out of fascia boards after the first windy week. Cords snake across the grass where someone will absolutely trip on them. Almost every one of those problems traces back to skipping the planning stage, not to the lights themselves.
This guide walks you through the whole job in the order that actually works. You will start with layout and light selection, move through six clear installation steps with a diagram for each, and finish with patterns, pole setups for yards with nothing to attach to, and long-term care. Whether you have a deck, a pergola, a big oak tree, or an open lawn and a dream, you will find a method that fits.
Set aside a free afternoon, grab a helper if you can, and let’s get your backyard glowing.
Plan Your Backyard Lighting Layout Before You Touch a Hook
The single biggest favor you can do for yourself is to spend twenty minutes planning before you pick up a drill. String lights look effortless in photographs, but the ones that look best almost always follow a simple idea: they define a space. Think about what you want the lights to do. Are they meant to wrap a dining area so dinner feels intimate? Frame a lounge zone near the fire? Outline a path so guests can find the gate? Light the whole yard for kids and parties? Each goal leads to a different layout, and choosing one first keeps you from buying the wrong length or hanging a line that goes nowhere.
Think in zones, not in a single line
Most backyards have two to four natural zones: a cooking and dining area, a lounge or conversation area, a play or lawn area, and a transit zone like a walkway. You rarely need to light all of them equally. Pick the one or two that matter most and give them the best light. If you are building out an outdoor seating area around a flame, for instance, our guide on how to build a fire pit in your backyard pairs naturally with an overhead canopy of lights, as long as you keep the cable well clear of the heat source.
Check the rules and the clearances
Before you commit to anything permanent, check your local rules and your lease or HOA guidelines if they apply. Some communities restrict what can attach to fences or rooftops, and some limit how late exterior lighting can run. Likewise, if a fire feature is part of your plan, it is worth reading up on whether you can have a fire pit in your backyard, because the same clearance thinking applies overhead: flames, sparks, and hot rising air are not friends of plastic bulbs and thin insulation.
Sketch it on paper
Draw a rough bird’s-eye view of your yard. Mark the house, the patio or deck, any trees, fences, the shed, and the outdoor outlet. Then draw where you imagine the light going. You do not need artistic skill, just boxes and lines. This sketch will become the foundation for the measuring step later, and it often reveals problems instantly, like an outlet on the wrong side of the yard or a gap that is clearly too wide for a single strand.
Match the plan to your yard size
A small townhouse patio needs very little: one or two lines of lights across the space can be enough, and over-lighting a tiny area makes it feel crowded. A mid-sized yard usually benefits from a main zone of light over the seating area plus a softer perimeter glow along a fence. Large yards are best handled in layers, with a bright central canopy, accent lines along paths, and perhaps a few lights near the garden. Starting with the most-used zone and expanding over time is a smart way to spread out cost and avoid overbuying.
It also helps to think about sight lines from inside the house. Many people forget that the first view of the lights is often through a kitchen window or a sliding door. A line that looks wonderful from the patio but awkward from the couch inside is a missed opportunity, so take a moment to look out from indoors and adjust your plan accordingly.
Pro tip: Stand in your yard at dusk before you plan anything. Notice where people naturally gather and where the darkest spots are. Lights belong where the shadows currently get in the way.
Ready to start your plan? Browse popular outdoor string light options and compare lengths.
Browse Outdoor String Lights on AmazonChoosing the Right String Lights for a Backyard
Not all string lights are built for the same job, and picking the wrong type is the second most common reason these projects disappoint. The good news is that the choices boil down to a handful of decisions: bulb style, light color, power source, length, and build quality. If you want a deeper look at specific products, our roundup of the best string lights for backyard spaces covers many tested favorites. Here, we will focus on what to look for so you can judge any strand with confidence.
Commercial-grade versus decorative strands
Look for strands labeled for outdoor or commercial use. These typically have thicker wire, sealed sockets, and shatter-resistant bulbs. Cheap indoor-style strands may work for a weekend party but tend to fail after a season of sun and rain. The sockets are the weak point, since water gets in where the bulb meets the holder. Rubberized, weatherproof sockets are a strong sign of quality.
Bulb type and brightness
Large globe bulbs (often called G40 or similar) create that classic café look and spread light widely. Smaller edison-style bulbs look vintage and give a warmer glow, though they may be dimmer. LED versions use far less power, run cool, and often come with plastic bulbs that survive drops and hail. Incandescent versions give a slightly richer color but draw more power and burn out more often. For most backyards, LED is the practical winner.
Color temperature
Warm white, typically around 2200K to 2700K, feels cozy and flattering to people and food. Cool white can feel harsh and clinical outdoors. Unless you have a specific reason, such as a festive color theme, warm white is the safe and beautiful choice.
| Feature | Best For | Watch Out For |
|---|---|---|
| Globe bulbs | Patios, dining areas, wide coverage | Slightly more wind resistance than small bulbs |
| Edison-style bulbs | Vintage, cozy looks | Can be dim for large areas |
| Shatterproof LED | Households with kids and pets | Cheap plastic can yellow over time |
| Solar-powered | Spots without an outlet | Weaker output, depends on sun exposure |
| Smart / app-controlled | Dimming, schedules, color changes | Needs Wi-Fi range and app setup |
Power source and length
Plug-in strands deliver consistent brightness and are the best choice for anything you want to rely on. Solar strands are convenient for fences and flower beds but struggle in shade and winter. Measure your run (more on that in Step 1) and add roughly ten to fifteen percent for sag and slack. Also check how many strands can be connected end to end. Many sets cap out at a certain wattage, and exceeding it can trip a breaker or damage the plug.
Set a realistic budget
Good outdoor strands cost more up front but save money by lasting longer. Plan on spending the most on the strands and cable, since these are the parts you will see and rely on. Hardware is inexpensive by comparison, and skimping there is a false economy. If you are working with a tight budget, buy fewer strands of higher quality rather than many cheap ones, and expand later. It is also worth buying one spare strand from the same batch, because color temperature can vary slightly between production runs and mismatched strands are surprisingly noticeable side by side.
Pros of Plug-In LED Strands
- Consistent, bright output
- Low energy use
- Cool to the touch
- Often dimmable
Cons of Plug-In LED Strands
- Needs a nearby outlet or extension cord
- Visible cords if poorly planned
- Quality varies widely
Compare shatterproof warm white LED globe strands with weatherproof sockets.
See Weatherproof LED Strands on AmazonTools and Materials Checklist for Hanging String Lights
Having everything laid out before you start turns a frustrating chore into a smooth project. Nothing kills momentum like climbing a ladder, realizing the screws are in the garage, and climbing back down. Here is a realistic list, split into essentials and nice-to-haves.
The essentials
- String lights: measured length plus a margin, and a spare strand if your layout has more than one run.
- Support cable or wire: galvanized or stainless steel aircraft cable is the gold standard for long spans.
- Hardware: screw hooks, eye bolts, or heavy-duty cup hooks sized for your surface.
- Turnbuckles or cable tensioners: these let you tighten a line without fighting it by hand.
- Cable clamps and thimbles: they create strong, neat loops at the ends of the cable.
- Ladder: stable, tall enough that you are not stretching.
- Drill and bits: for pilot holes, especially in hardwood or masonry.
- Tape measure and a level: keeps the line straight and the heights consistent.
- Outdoor-rated extension cord and timer: weatherproof and appropriate for the load.
Nice-to-haves
- Zip ties or outdoor-rated clips to attach the light strand to the cable.
- A cable cutter for clean trimming of support wire.
- Cord covers or a cord channel for any ground-level wire.
- A helper, which is honestly the best tool on this list.
Matching hardware to the surface
The surface decides the fastener. Wood fascia and posts take screw eyes or hooks directly. Brick and stone need masonry anchors. Vinyl siding should not be drilled through the face if you can avoid it, so look for siding hooks designed to slip under the panel edges. Metal gutters are generally poor anchors for load-bearing cable, so avoid pulling tension lines from them. Trees need tree-friendly hardware, which we cover later.
Safety note: Always inspect a ladder before use, set it on firm level ground, and never lean past your belt buckle. If a run needs to go very high, hire a pro or use a pole instead.
Gather your supplies in one trip: cable, turnbuckles, and hooks for outdoor lights.
Shop String Light Hanging Kits on AmazonMeasure and Map Your Backyard Space
Now the actual installation begins, and it starts with a tape measure, not a drill. Accurate measurements are the difference between a clean, taut line and a frustrating mess of slack or strain. Take your time here, because everything else follows from these numbers.
Measure the straight-line distance
Identify each point where a line will start and end, such as the house corner, a post, a tree, or a pole. Measure the straight distance between them. Do not guess by pacing it off, because small errors multiply. If you are hanging a zigzag or canopy with multiple lines, measure each leg separately and write the numbers on your sketch.
Account for sag and slack
A strand of lights is never perfectly straight, and you probably do not want it to be. A gentle curve looks natural, but the strand itself must be long enough to follow it. As a rule of thumb, add about ten to fifteen percent to your measured distance for a soft swag, and more if you want deeper loops. But note the important distinction: the support cable should be taut, while the lights hang slightly looser along it.
Find your power point
Mark the nearest weatherproof outlet. Outdoor outlets should be GFCI-protected, and if you do not have one, that is a job for a licensed electrician rather than a workaround. The distance from your first light to the outlet determines whether you need an extension cord and how long it must be.
Check the height
A good rule is to hang lights at least seven feet above ground where people walk, and eight to ten feet is better for taller guests and for a comfortable, airy feeling. In a seating area, slightly lower can feel cozier, but never so low that anyone bumps their head.
A reliable measuring tape and laser distance tool make long outdoor spans easy.
Find Measuring Tools on AmazonPick Strong, Safe Anchor Points
Your lights are only as secure as whatever holds them up. The anchor point has to resist constant tension, wind gusts, the weight of ice or rain, and the occasional enthusiastic guest who grabs a strand. Choosing anchors carelessly is how lights end up on the ground after the first storm.
Good anchor choices
- Fascia boards and rafter tails: if they are solid wood in good condition, they are excellent. Screw into the framing, not just thin trim.
- Deck and pergola posts: thick posts with proper footings hold strong tension.
- Fence posts: use posts rather than the boards between them, and confirm the post itself is sturdy.
- Mature trees: healthy trunks and big limbs can work, with some care (see below).
- Dedicated poles: when nothing else exists, poles are the answer. More on this in section eleven.
Anchors to avoid
- Gutters, downspouts, and thin aluminum trim.
- Rotted, split, or painted-over soft wood.
- Deck railings that wobble when pushed.
- Thin branches, dead limbs, and anything that sways wildly in wind.
- Utility poles, which are off limits.
Being kind to trees and wildlife
If you use a tree, never wrap wire tightly around a trunk or limb. Trees grow, and a tight wrap can girdle the bark over time. Use a wide strap, a rubber sleeve, or a loose loop with a spacer, and check it each season. Also pay attention to who lives there. Nesting birds deserve to be left alone during breeding season, and if you enjoy having feathered visitors, you may want to read how to attract birds to your backyard so your lighting plan and your wildlife plan do not clash. Bright lights near a feeder area can also affect when birds visit, and it is worth keeping feeders in their own quiet corner if you decide to add one (our picks for the best bird feeders for backyard setups can help you choose).
Rule of thumb: If you would not trust an anchor to support a person’s weight pulling on it for a moment, do not trust it to hold a cable under constant tension.
Tree-friendly straps and heavy-duty mounting hooks keep your anchors secure.
Shop Mounting Hardware on AmazonInstall Hooks, Eye Bolts, or Mounting Hardware
With anchors chosen, it is time to install hardware. This is the step where patience pays off, because a crooked or under-set fastener becomes a weak link under tension. Work slowly, test each piece, and do not rush to the lights.
Mark and measure your positions
Use your sketch and a level to mark each anchor location. If you are installing multiple hooks along a fence or beam, check that the heights match, or deliberately vary them to create a descending slope. Consistency matters because the eye is very good at spotting a line that tilts by accident.
Drill pilot holes
For hardwood and thick posts, pre-drill a pilot hole slightly narrower than the shaft of the screw or eye bolt. This prevents splitting and makes the hardware easier to turn. For masonry, use the proper bit and a matching anchor sleeve. Take care to keep the drill straight so the hardware sits square to the surface.
Choose between hooks and eye bolts
Screw hooks and cup hooks are fine for short runs and light loads. For long spans with a support cable, eye bolts or lag-style eye screws are stronger and let you thread cable through a closed loop. Closed rings also prevent a strand from slipping off in wind, which open hooks can allow.
Orient the hardware to the load
Hardware is strongest when the pull runs along its length, not across it. If the cable will angle downward from a high anchor, let the ring or hook angle with it. Turn eye bolts so the loop lines up with the direction of the cable rather than sideways, since a side load is the quickest way to bend or pull one out.
Test every anchor
Once hardware is set, give each piece a firm tug. If anything shifts, back it out and rebuild with a larger screw, a different spot, or an added backing board. It is far easier to fix an anchor now than after the lights are up.
Stainless steel eye bolts resist rust and stay strong for years outdoors.
Find Eye Bolts on AmazonRun a Support Cable for a Sag-Free Line
Here is the secret that separates amateur installs from professional ones: lights should not carry their own tension. Light strands are designed to carry current, not to bear load. If you pull a strand tight between two points, you stress the wire, the sockets, and the plug. Instead, run a separate support cable between your anchors and attach the lights to it. The cable does the structural work and the lights simply ride along.
Pick the right cable
Galvanized or stainless steel aircraft cable, commonly around one-sixteenth to three-thirty-seconds of an inch thick, is strong enough for most backyard spans. Coated cable is gentler on hands and less likely to scratch. For very long spans, step up to a thicker cable, and consider a mid-span support post to limit the strain.
Build the ends
At each anchor, thread the cable through the eye bolt, loop it back on itself, and secure it with two or three cable clamps. A thimble inside the loop protects the cable from wear. Be sure the saddle of each clamp sits on the live (loaded) side of the cable and the U-bolt on the tail, which is the standard, reliable orientation.
Add tension with a turnbuckle
Insert a turnbuckle at one end. Start with it fully loosened, connect the cable, and then turn it to draw the line tight. You want the cable close to straight but not guitar-string tight, since extreme tension adds stress to anchors and can strip wood. Slight sag under the weight of the lights is normal, and a gentle curve actually looks good.
Trim and tidy
Once the cable is set, trim any long tail ends and cap them so no one scratches a hand on a sharp wire. This small detail matters in a yard full of kids, pets, and barefoot guests.
Why not just use the light cord? Because thin lighting wire stretches, sags, and eventually fails under constant load. A support cable shifts the work to something designed for it, which also makes replacing a burned-out strand a thirty-second job.
Get coated steel cable, clamps, and turnbuckles in one complete kit.
Shop Cable Kits on AmazonHang the String Lights and Manage the Sag
This is the satisfying part. With a solid cable in place, the lights go up quickly. The trick is to attach them evenly, keep the bulbs facing the right way, and avoid pulling the strand tight as you work.
Start at the power end
Begin at the end nearest the outlet so you do not run out of strand at the far end. Lay the strand loosely along the ground first to untangle it and check for any dead bulbs, then plug it in briefly to confirm every bulb works. It is much easier to catch a dud on the ground than on a ladder.
Clip evenly along the cable
Attach the strand to the cable at regular intervals, typically every two to three feet, using zip ties, outdoor-rated clips, or small carabiners. Many strands have built-in loops at each socket, which makes this easy. Work in one direction and keep the spacing consistent so each swag matches its neighbor.
Control the sag on purpose
A strand with no slack looks stiff, and one with too much slack looks messy. Aim for gentle swags of eight to twelve inches between clips. If a swag looks too deep, add a clip. If it looks too tight, loosen the clip spacing slightly. Walk back, view it from where people will sit, and adjust until it looks relaxed rather than droopy.
Mind the bulb direction
Sockets should face downward or outward so rain runs off instead of pooling inside. Where possible, avoid letting the plug end or any connection hang in a puddle zone. Create a small drip loop in the cord just before any connection, which gives water a place to fall away before it reaches the plug.
Handle corners and transitions
Where a strand turns a corner or changes direction, add an extra clip on each side so the bend does not pull on the sockets. Use as few splices and connectors as possible, as each connection is a potential failure point.
Outdoor-rated clips and zip ties make attaching lights to cable fast and tidy.
Get Light Clips on AmazonPower, Timers, and Outdoor Electrical Safety
A beautiful lighting setup is only worth having if it is safe. Electricity and weather are an uneasy combination, so this step is about doing the boring things correctly: the right outlet, the right cords, and sensible automation so you are not relying on memory to turn things off.
Use a GFCI-protected outlet
Ground fault circuit interrupters cut power fast if something leaks current, which is exactly the kind of protection you want outdoors. If your outdoor outlet is not protected, plug into a GFCI adapter or have an electrician upgrade it. Use a weatherproof in-use cover so the plug stays dry even in rain.
Choose cords rated for the job
Only use extension cords labeled for outdoor use, and pick a gauge heavy enough for the length and the load. Check the total wattage of everything you are plugging in, and stay comfortably under the cord’s and the circuit’s rating. LED strands make this easy, since their draw is tiny compared to older incandescent sets.
Add a timer or smart plug
A timer is one of the best small upgrades you can make. Set the lights to come on at dusk and go off at a reasonable hour, and you will never again leave them burning all night. Many timers have photocells that sense darkness, and smart plugs let you control things from a phone. Make sure any timer or smart plug is rated for outdoor use or protected inside a weatherproof box.
Manage the ground-level cord
Any cord crossing a walkway should be taped down, covered, or routed along the edge of a fence or wall. Trip hazards are the number one real-world injury risk with outdoor lighting. If you have pets or small children, consider routing cords up a post and across overhead rather than along the lawn.
Dimmers and mood control
If your strands support dimming, use it. A bright setting suits cooking, cleaning up, and kids playing, while a low, warm setting is ideal for conversation. Dimmable LED strands paired with an outdoor dimmer or smart plug let you shift the mood without changing anything else. Some app-controlled sets also let you schedule different brightness levels at different times of the evening, which is a lovely touch for parties.
Never run cords through closed windows or doors in a way that pinches the insulation, never splice indoor cords for outdoor use, and unplug everything before a major storm or during any repair.
Weatherproof timers and covered outlet boxes protect your connections.
Shop Outdoor Timers on AmazonPopular Hanging Patterns: Zigzag, Canopy, Perimeter, and Pergola
Once you understand the basic method, the creative part opens up. A single method of cable, anchors, and clips can be arranged into very different looks, and picking the right pattern for your space makes the difference between “nice” and “wow.” Here are the four most reliable options.
The zigzag
Hang parallel lines back and forth across the space, with each line slightly offset from the last. This is the easy, forgiving pattern that works over patios and open lawns, and it blankets a large area evenly. Keep lines about two to four feet apart for a bright, festive feel or wider for a subtle one.
The canopy
Anchor a center pole, then run lines out to the perimeter like the ribs of a tent. This is dramatic and romantic and ideal over a dining table. It does need a sturdy central support, and you must make sure the pole base is stable. Canopies look especially stunning around a seating area, such as one centered on a fire feature. If that is your plan, our overview of the best fire pit for your backyard can help you choose the centerpiece, then keep the canopy lines well above and outside the heat zone.
The perimeter
Frame the edge of the space instead of covering the middle. This works well when you want an open-sky feeling with a soft glow around the border, and it is the simplest install because there is less span to bridge.
The pergola grid
If you already have a pergola, run lights along each beam or weave them through the rafters. The existing structure provides built-in anchors, so installation is straightforward, and the geometric rhythm is lovely. Consider adding sheer outdoor curtains to enhance the effect.
| Pattern | Difficulty | Best Space | Typical Hardware |
|---|---|---|---|
| Zigzag | Easy | Patios, lawns | Anchors at both ends |
| Canopy | Moderate | Dining or lounge circles | Center pole, perimeter anchors |
| Perimeter | Easy | Small decks and yards | Hooks along fence or railing |
| Pergola grid | Easy to moderate | Existing pergolas | Cup hooks, clips |
Pick extra-long commercial strands for big canopy and zigzag layouts.
View Long Light Strands on AmazonNo Trees or Walls? Use Poles, Posts, and Freestanding Options
Plenty of backyards are wide open: a lawn, a fence along the edge, and nothing to attach to in the middle. That is not a problem. Poles let you place light exactly where you want it, and they can be as temporary or as permanent as you like.
Buried posts set in concrete
The most permanent and strongest option. Dig a hole deep enough to bury about a third of the pole’s length, set the post, and pour concrete. Brace it plumb until it cures. This option handles long cable runs and strong wind, and it makes sense when you want the setup to last for years.
Planter and weighted bases
For renters or anyone who wants flexibility, set poles in large planters or sturdy buckets filled with gravel and concrete. They are heavy enough to resist wind but can be moved if you rearrange the yard. They also double as decor when you plant flowers or greenery around them.
Pre-made pole kits and deck-mount options
Commercial pole kits include a ground stake or base plate, a pole, and often a hook at the top. These are easy to install and affordable, though most are intended for shorter, lighter spans. For heavier cable runs, a stronger pole is a smart investment. If you have a deck, bolt-down brackets let you mount poles on the rim without any digging.
Guy wires for stability
Tall poles under tension benefit from guy wires angled to ground stakes. They counter the pull of the cable and keep the pole upright. Mark the guy wire with bright flags or tape so nobody trips over it.
Pole height and spacing
Keep poles tall enough to clear heads comfortably, around nine to ten feet is a good target, and avoid spans longer than about thirty to forty feet without extra support. Shorter spans mean less sag, less stress, and a cleaner look.
Sturdy poles and weighted bases let you hang lights anywhere in the yard.
Shop String Light Poles on AmazonWeatherproofing, Maintenance, and Troubleshooting Your Lights
Installing the lights is only half the story. Keeping them alive through summer storms, winter freezes, and months of use is what makes the investment worthwhile. Thankfully, the upkeep is simple if you build a few habits.
Weatherproof the weak points
Most failures happen at connections. Where one strand plugs into another, use a weatherproof connector cover or a small waterproof box, and place the junction above ground level with a drip loop. A dab of dielectric grease on contacts can help prevent corrosion. Replace any cracked sockets or damaged cords immediately rather than waiting for them to fail.
Plan for wind and storms
If a major storm is forecast, check your hardware beforehand, and in severe weather consider temporarily lowering or removing the strands. Cable tension should be re-checked after strong wind, as turnbuckles can loosen slightly and wood can shift.
Seasonal checks
- Spring: Inspect for winter damage, test every bulb, and re-tension the cable.
- Summer: Wipe off dust and pollen, trim any new branches that rub the line.
- Fall: Clear fallen leaves from lights and cables so moisture does not collect.
- Winter: Decide whether to leave them up or store them. Many commercial strands tolerate cold, but ice buildup adds weight.
Troubleshooting common problems
| Problem | Likely Cause | Fix |
|---|---|---|
| Whole strand is out | Tripped GFCI, blown fuse, or loose plug | Reset GFCI, check the fuse in the plug, reseat connections |
| Section is dark | One bad bulb or socket | Replace or swap bulbs, inspect the socket |
| Flickering | Moisture, loose bulb, or failing timer | Dry connections, tighten bulbs, test without timer |
| Strand sags too much | Slack cable or too few clips | Tighten turnbuckle, add clips |
| Hook pulled out | Weak wood or wrong hardware | Relocate into solid framing, use a larger eye bolt |
Common mistakes to avoid
- Pulling the light strand tight instead of using a cable. This stresses the sockets and wiring and shortens the life of the lights.
- Anchoring into thin trim or gutters. These cannot handle constant tension and will pull loose in wind.
- Forgetting the power source. Many people hang a beautiful run and then discover the outlet is thirty feet away.
- Buying indoor lights for outdoor use. They are not sealed against moisture and will fail quickly.
- Hanging too low. Lights below head height create glare and can become a hazard for tall guests.
- Skipping the test. Always plug in and check each strand before you climb the ladder.
If you avoid these half-dozen errors, you will already be ahead of most first-time installers. Most problems are not complicated; they are simply the result of rushing through the planning and hardware stages. Slow down early and the rest of the job gets remarkably easy.
Keeping wildlife in mind
Lights can influence nighttime wildlife, and a bright glow near feeders can change when birds visit. If you have noticed activity dropping off, it is worth reading about why birds leave backyard feeders to see whether lighting, placement, or something else is the cause. Keeping lights on a timer and warm in tone helps minimize disruption.
Storing lights properly
If you take strands down for winter, coil them loosely around a piece of cardboard or a reel, secure the plug, and store in a dry bin. Avoid tight knots, since they stress the wire. Label each strand by location so next season’s install is fast.
Keep spare bulbs, weatherproof connector covers, and storage reels on hand.
Shop Light Accessories on AmazonFrequently Asked Questions About Stringing Lights Across a Backyard
How far apart should I space the anchor points for string lights?
For a single strand, spans of fifteen to thirty feet work well. Beyond thirty to forty feet, add a mid-span pole or post so the cable does not sag excessively or put too much strain on the anchors.
How high should I hang string lights in my backyard?
Aim for at least seven feet where people walk, and eight to ten feet for a more open, comfortable feel. Seating areas can go a little lower for coziness, as long as nobody has to duck.
How do I keep string lights from sagging in the middle?
Run a taut support cable between your anchors, tension it with a turnbuckle, and clip the light strand to the cable every two to three feet. The cable carries the load so the lights do not stretch under their own weight.
Can I string lights without drilling holes?
Yes. Use freestanding poles with weighted bases, adhesive-free clamps on railings, siding hooks that slip under panel edges, or tree-friendly straps. These options work well for renters and for surfaces you do not want to damage.
How many string lights do I need for my yard?
Measure each run, add ten to fifteen percent for swags and slack, and total them. For a zigzag pattern, multiply the span by the number of lines you want. It is better to buy slightly more than you need than to come up short.
Are string lights safe to leave up all year?
Commercial-grade outdoor strands are designed to stay up through most weather, but you should inspect them seasonally, replace damaged sockets, and consider taking them down during severe storms or heavy ice.
Do I need an electrician to power outdoor string lights?
Not usually, if you have a working GFCI-protected outdoor outlet and use outdoor-rated cords. If you need a new outlet or your existing one is not protected, hire a licensed electrician.
What is the best color for backyard string lights?
Warm white is the most popular choice because it flatters people and surroundings and feels inviting. Colored bulbs are fun for parties and holidays but can feel less relaxing for everyday use.
Can I hang string lights on a tree safely?
Yes, if the tree is healthy. Use wide straps or rubber-sleeved loops instead of tight wire, avoid thin or dead branches, and check the attachments every season so the tree has room to grow.
How do I hide the cords for a cleaner look?
Run cords along fences, posts, or the edge of the house, secure them with clips, and use cord covers where they cross the ground. Routing the power line up a post and across overhead is often the neatest solution.
Will string lights bother birds or other wildlife?
Bright, constant light can affect some wildlife behavior. Use warm bulbs, put the lights on a timer, and keep feeders and nesting spots in a darker corner of the yard to minimize any disruption.
Can solar string lights work for a long backyard run?
They can work for decorative purposes, particularly on fences and beds, but they are usually dimmer than plug-in strands and depend on good sun exposure. For long, bright, reliable runs, plug-in LED strands are the better choice.
Conclusion: Your Backyard, Glowing the Right Way
Stringing lights across a backyard is one of those projects that rewards a little planning with a huge payoff. Start by deciding what the lights should do and sketching the layout. Choose outdoor-rated strands you trust, gather the right tools, and then work through the six steps: measure, choose anchors, install hardware, run a support cable, hang the lights, and power them safely. Add the pattern that fits your space, bring in poles if you have nothing to attach to, and keep up a small maintenance routine so the glow lasts.
The best part is that every evening afterward gets a little more special. Dinner feels like an occasion, the lawn feels like a destination, and an ordinary Tuesday gets a touch of magic. Take it one step at a time, keep safety front and center, and enjoy the result.
Ready to make your backyard the favorite spot at home? Start with the right lights.
Shop Backyard String Lights on AmazonYou May Also Like
As an Amazon Associate we earn from qualifying purchases. If you click a link and buy, we may receive a small commission at no extra cost to you.